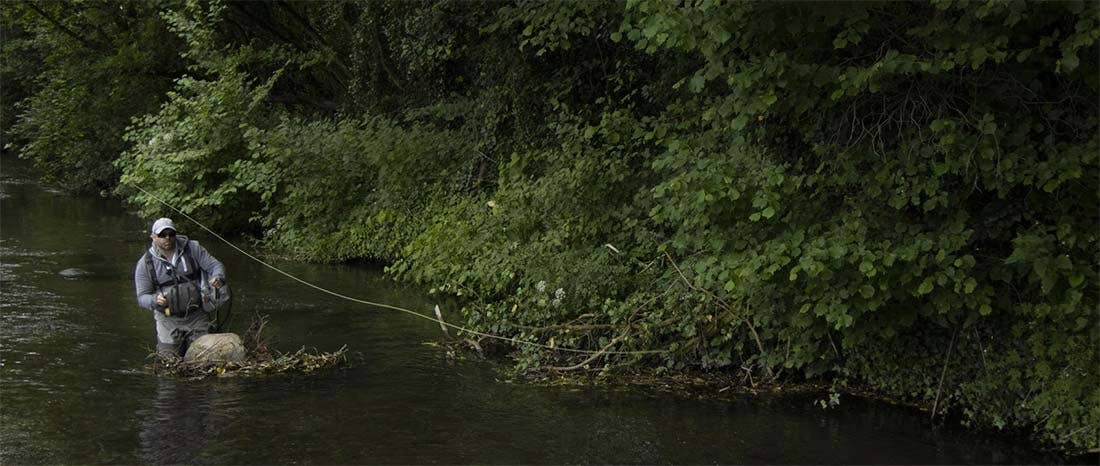
Doing everything you can to make your fly lines last as long as possible is good practice, but anglers often overlook certain key aspects of equipment care, particularly when it comes to fly lines.
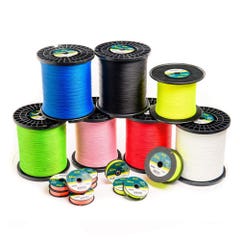
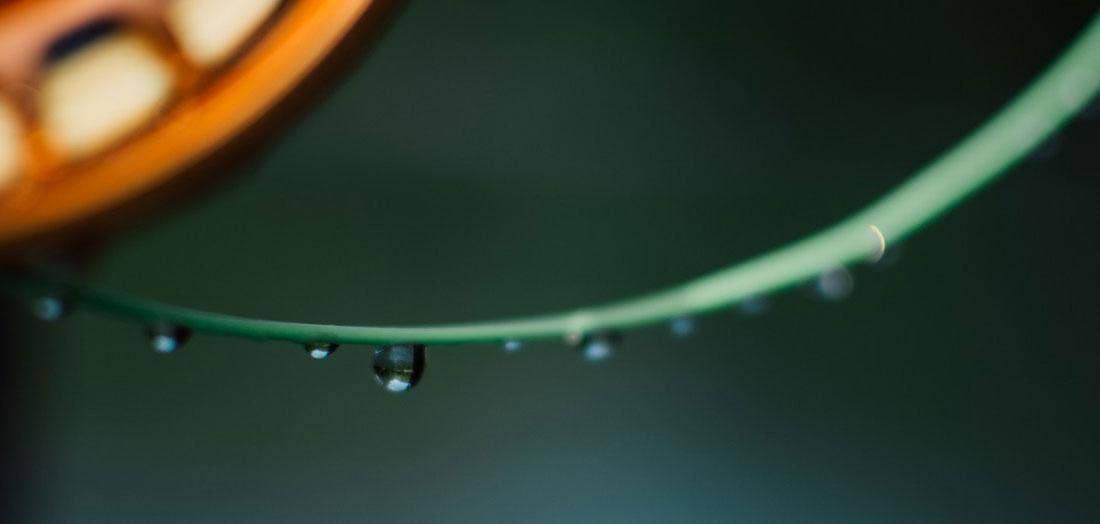
Fly lines, in general, are constructed with a braided core (some are solid mono or non-stretch materials) covered in a plastic coating. This coating can crack and small cracks can fill with dirt if not cared for properly. These small cracks can allow for dirt to accumulate and thus increase cracking, allowing for water ingress (which will start to make your floating line sink) and in some more extreme cases can lead to damage to the rings of your fly rod as the damaged fly line creates friction.
Fly Line Care
Taking a little time at the end of your fishing day to clean and treat your fly line will not only make it last longer, but it will make it float better, cast further and feel slicker. There are several types of cleaner or conditioner on the market and applying them is usually as simple as pulling all the line off your reel, applying some of the cleaner to a cleaning pad and winding it back onto your reel. You will be amazed at just how much dirt can be removed even after just a single trip out fishing.
In an ideal world this should be done after every trip, but if time doesn’t allow this then try to do it as often as possible. Think about it in a similar way to your car’s paint. If you didn’t wash your car for 12 months, would you expect your paint to be sparkling and remain in the same condition as when it left the factory? It’s wise to think about your fly lines in the same way, with a little time spent cleaning after a day on the water bringing many benefits in the long run.
If you are going to use a cleaner on your floating lines, we recommend that you chose one that has floatant in the solution. DO NOT use these same cleaners on your sinking lines however, but instead use a fly line conditioner like the Lee Wulff line dressing or simply rinse in warm (not hot) soapy water.
Step 1: Strip the fly line off your reel into a basin of warm soapy water.
Step 2: Wipe the line through a piece of tissue paper to remove surface dirt and dry the line.
Step 3: Apply a fly line dressing to the line with a soft cleaning pad.
Step 4: Wind the line back onto your reel.
If you would like more in depth information, check out this two part guide from RIO:
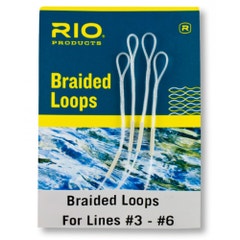
If You Need to Replace a Fly Line Loop
The vast majority of modern fly lines will come with a manufactured welded loop on the end of them straight from the factory. These make attaching your leader to your line very simple with a simple loop-to-loop connection. After time and use, these welded loops will wear and will need replacing with a braided loop.
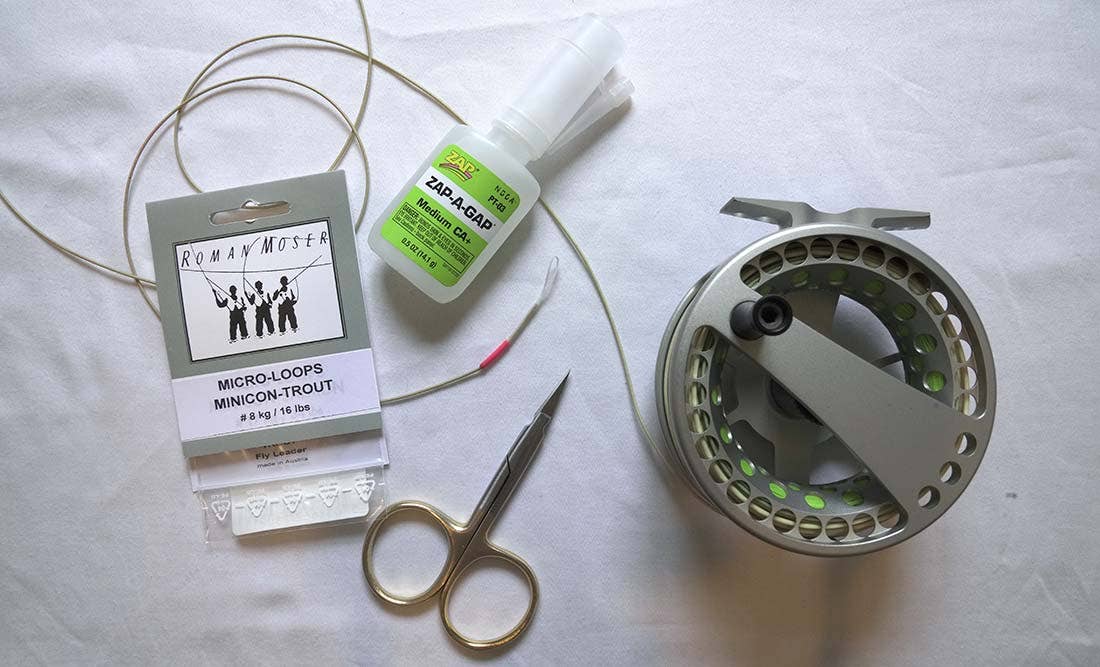
How to fit a braided loop
What you will need:
- A pair of sharp scissors
- Pack of braided loops
- Superglue
Step 1:
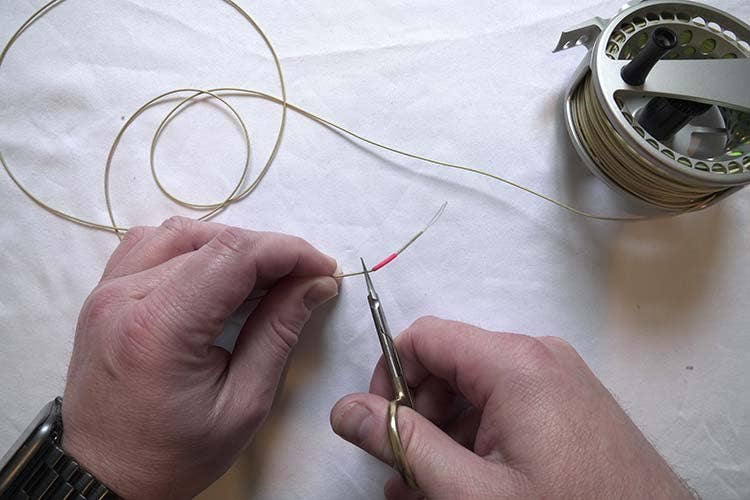
Cut off your old damaged loop and dab a little superglue onto the cut edge. This will stop water being sucked up into the core and should help to prevent the tip of your floating line from sinking in the future.
Step 2:
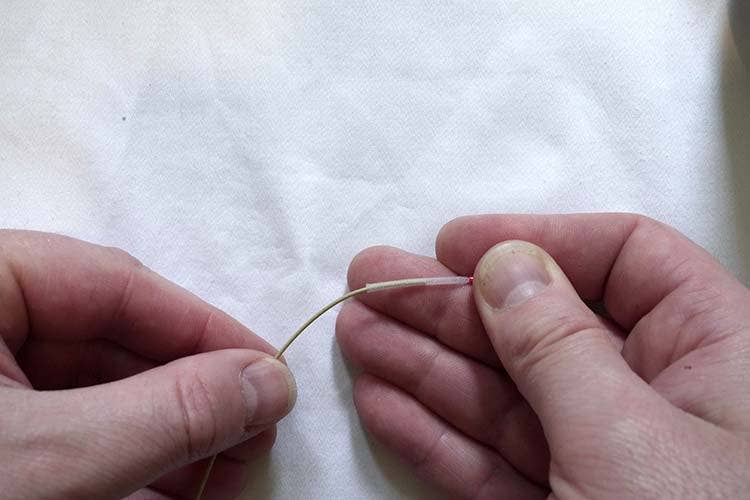
Thread the end of your fly line as far up the braided loop as you can, the further the better.
Step 3:
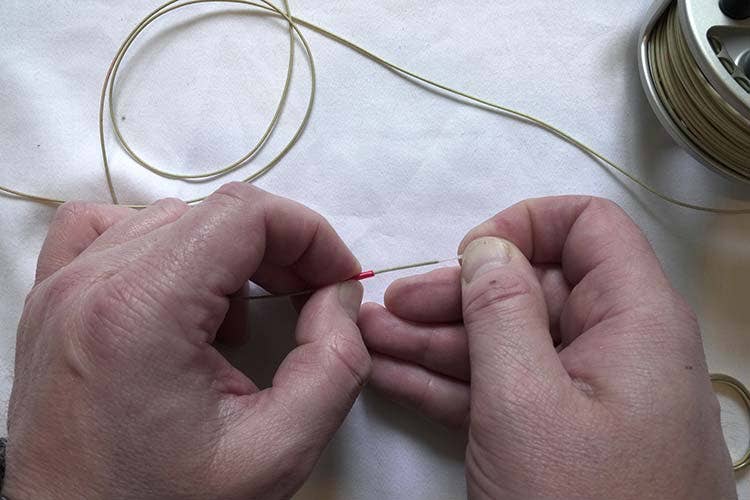
Gently pull the plastic sleeve back down over your fly line making sure that it just covers the frayed edges at the bottom of the braid. It’s often helpful to use a small nail or a loop of nylon through the new loop to maintain a good grip as you slide the sleeve down.
Step 4:
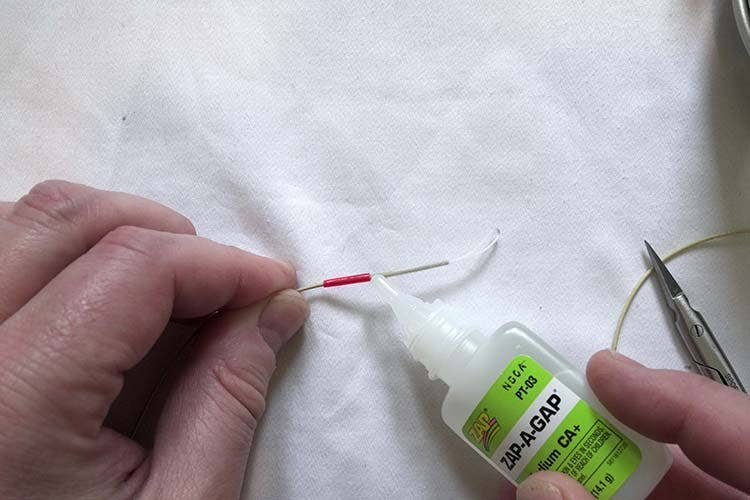
Place a small drop of super glue at the top of the plastic sleeve closest to the loop. You will only need a very small amount of glue as capillary action will draw the glue back down and under the sleeve and will form a solid connection.